In this article we will learn to configure the network settings in Ubuntu. To be able to communicate across networks, we need an IP address. IP stands for Internet protocol. IPv4 and IPv6 are two version of IP address that are used now a days. To check in details about IP addresses you can check our article. Let’s check on how we can configure a network in Ubuntu VM.
To check the network interfaces in Linux we can use these below commands:
ip linkIt will show us all the devices like Ethernet Cards, Wireless cards and the virtual interfaces as well. The command will be like this:

Now as we can see, lo is the loopback address. This interface is used by the system when it needs to connect with itself like the program that wants to connect to a database running on the same system, it goes to 127.0.0.1 through this loopback device. eth0 and eth1 refers to the ethernet interfaces of the system.
To have a details of IP address configured on these devices we use ip address or below command:
ip a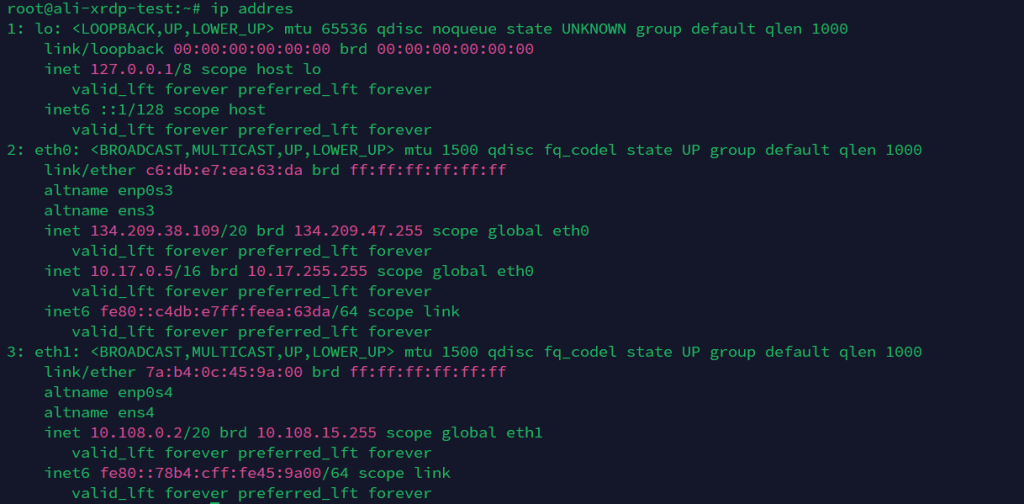
In order to make the interface up or down we can use a below command:
ip link set dev eth0 upip link set dev eth0 downFirst we specify that we want to work with link device then we set the property then we add the name of the network device and add the state. In order to add manually an IPv4 then we can use below command:
ip addr add 105.101.20.1/24 dev eth0In order to delete an IP address we can use below command:
ip addr delete 105.101.20.1/24 dev eth0For IPv6 we have almost same command:
ip addr add <IPv6_address> dev eth0The above commands will save the IP address temporarily and is generally used for testing purposes. In order to make the permanent changes we need to add a configuration in the netplan file. On ubuntu Netplan sends instructions to Systemd’s network daemon called networkd. Let’s see how we use netplan to assign the IPs to our devices. To check the current settings we can use this command:
sudo netplan get 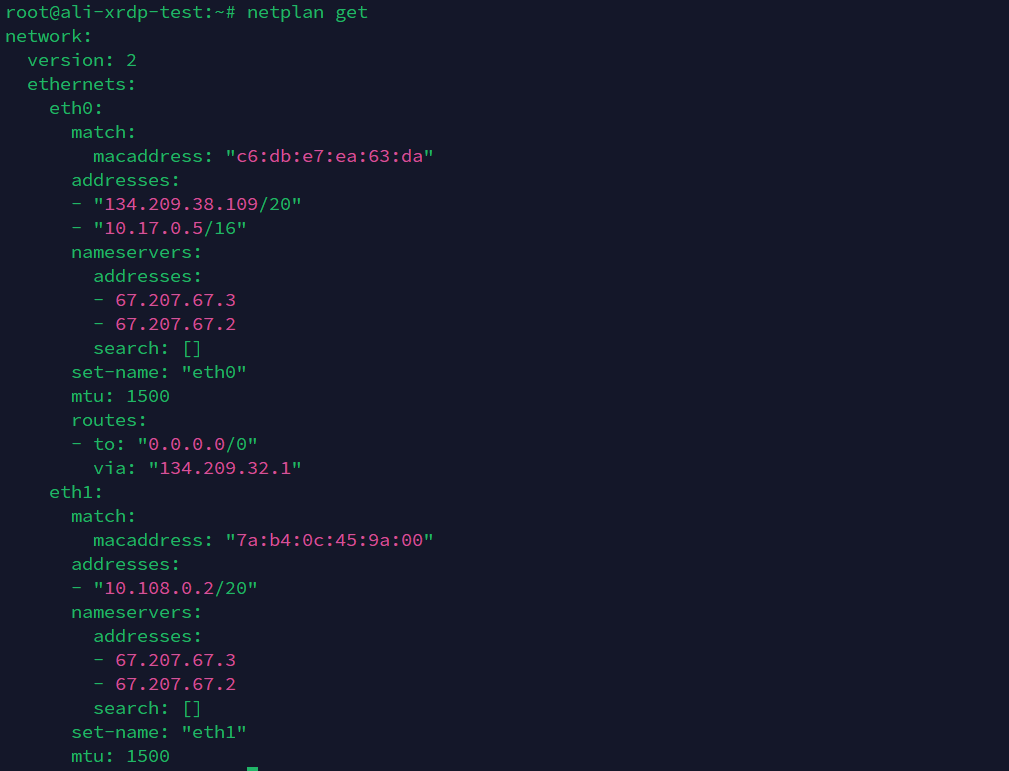
This netplan configuration file is located in /etc/netplan directory. We can navigate into the netplan directory and then use the simple editor to edit the netplan file. Note that we need sudo privileges to edit the netplan file.
nano /etc/netplan/50-cloud-init.yamlAs the syntax is in yaml file we need to add the network configuration in yaml format. We also need to take good care of the indentation:
After adding the details we can simply apply the settings by using below command:
netplan applyWe can check the network route with this command:
ip routeip roWe can also check the DNS resolvers using this command:
resolvectl statusIn order to manually add the DNS resolvers we can edit the DNS in resolv.conf file in the below directory:
nano /etc/resolv.confHope after reading this guide you got the basic understanding of how to assign an IP address to the server. For more Linux relted blogs please check our site Simplealltech.com. Happy Learning 🙂